Monday, November 28, 2011

Simply Cuffs / Warmth & Style


I hate being cold. That being said , what is a girl to do during winter? (besides long sleeves and mittens?)  Well, I noticed my daughter wearing "cuffs" a lot in her late teens and as a young adult. Maybe I am too old for such a fashion accessory, but seriously ...."who cares?" I am about comfort and being blissfully happy with what I am wearing...( that means sexy, and or cute, AND comfortable)

I found a few pics on the internet of others making these and put a little of my own spin on them. I loved the ones with all the lace and ribbons, very romantic and girly. But, I simply went with a soft knit and a little flannel accent for my first go at it. I think they are adorable. If you like cuffs, here is an easy place to start and then just use your imagination and go crazy!  I am doing a few different ideas after I get my Christmas done, sweater, fur and micro fleece to name a few! Enjoy!


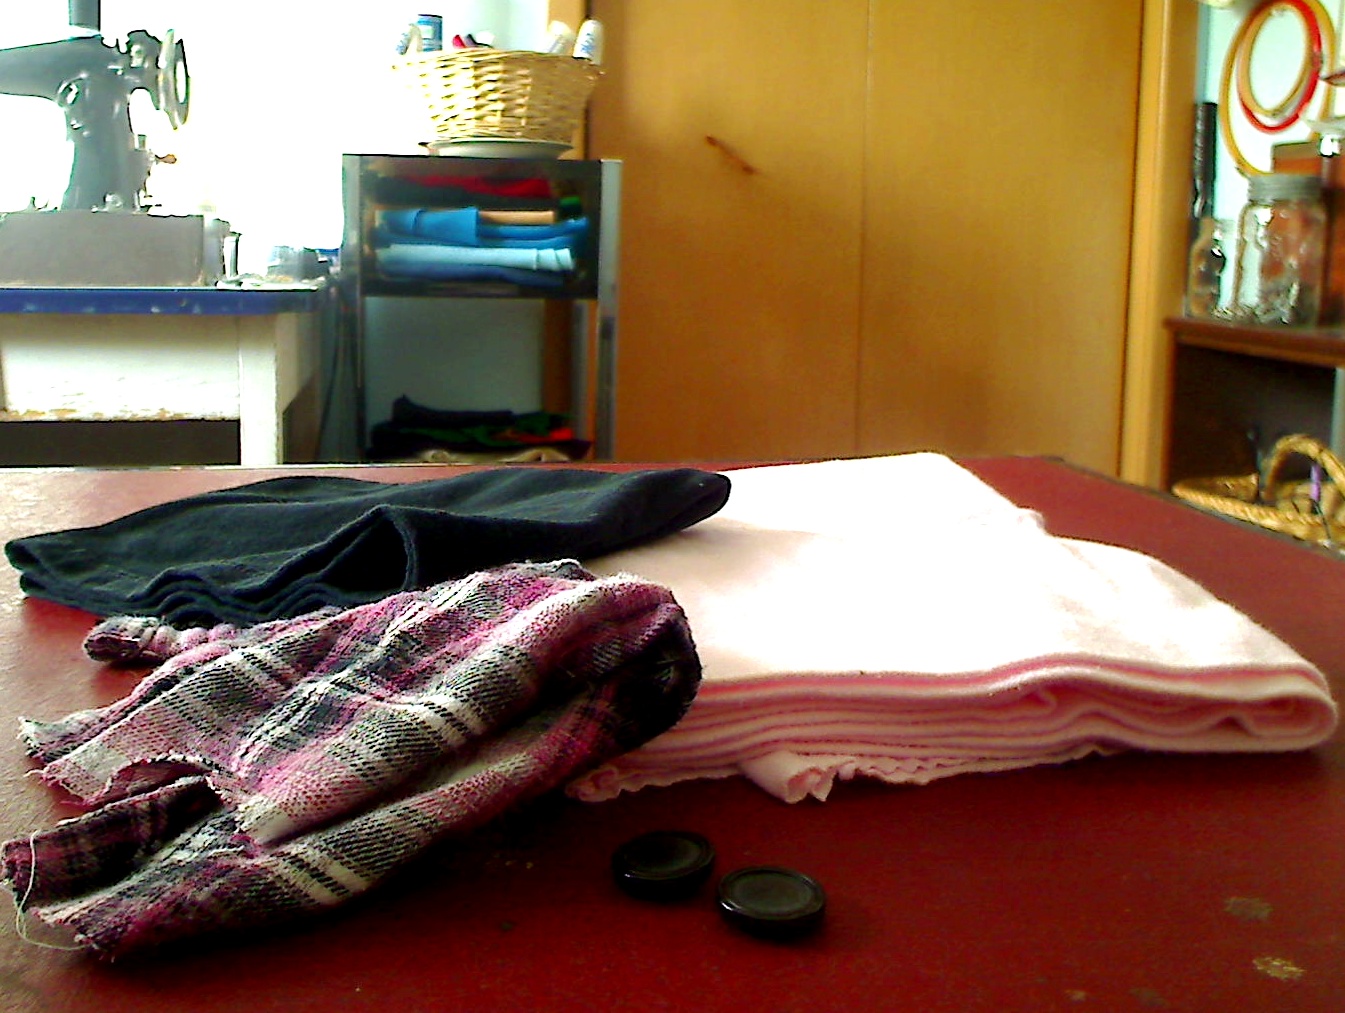
I started with gathering some recycled t-shirts and flannel. I also re-claimed 2 large black buttons from my button jar.


I measured out a pattern for 9" x 3". This is just a basic size. I suggest measuring your wrist and adding 3" or so. This gives plenty of room for seam allowance and overlap.


 Next, I pinned my pattern piece to the pink and black knit cutting out 2 pieces each.

 
I cut a strip of the accent flannel and simply pinned it in place. I am leaving the edges so I can fray them a bit.

Then I sewed it in place with a 1/4" top stitch.

This is a narrow black elastic cut to 3 1/2" for looping the button. I chose elastic because of its ability to stretch. My button is 7/8".

I then tacked it into place on the right side of the pink knit.

 I pinned the two colors right sides together leaving a small opening for turning.

 Using a  1/4" seam I stitched around entire cuff with exception of the opening for turning inside out.

 Now to trim seams and cut corners.

Then to turn inside out, and  press the cuffs with an iron .

Next, I slip stitched the openings closed.

I sewed on both buttons at approximately 2" from edge.

And ta-da!
Here they are on . I love them! It is my hope these instructions are simple and useful. 
Let me know if you make any and how they come out. I would love to see pictures and share. They are really fast to make and feel sooooooo good!!! 

as always, 
create with Joy!
Tammy


Saturday, November 26, 2011

Beautiful Wreath made from plastic bags


Yeppers!

Recycle your plastic shopping bags into a beautiful Christmas wreath!

This was very easy and cost me no money! 
I just added a bow from my Christmas box and hand painted a few words.


I used red and white plastic bags, some even had words printed on them.  I used a white wire hanger for the wreath.


I bent the hanger into a circle shape and folded the part that hangs on the bar into the center. This loop will be used to hang the finished wreath on the door. I did not worry too much about getting my shape perfect. Seriously, after you tie on all the strips of plastic it should hide any imperfections in your shape.


When cutting bags into strips fold in half length ways to save time. I did not measure, just eyeballed my cuts. But , if you need a measurement I would suggest 1 1/2" to 2" strips.
Then, cut the length of each strip down to about 4-6".  I only used 1 white bag and 1 red but have a few on hand in case you want to make your wreath fuller.


Tie on each strip until you feel happy with the fullness of your wreath. I choose randomly white or red and did not worry so much about pattern, but you could count them and create a definite pattern. 


I also used this iridescent gift bag filler to add glitter. I took 3-4 strands and tied them onto wreath after every 4-5 plastic ties. It really made it look festive. I had this in with all my gift wrapping stuff. I can't remember how much it cost me, but you could use anything glittery.


Here is what it looks like from the backside.


 Using recycled mac and cheese box and a little paint I created the words.
Peace, love and joy were painted on white with red acrylic paint.
I then sanded the painted letters to give a worn look and brushed on a coat of modge podge. 
I punched a couple of holes and ties them in place with left over plastic bag strips.

Hope you enjoyed this and will give it a try. Let me know below if you enjoyed this post! And I would love to know if you try it out and how it works out. 
as always,
create with joy, 
Tammy


Thursday, November 24, 2011

Memories from your kids


Yes! Thanksgiving! I love the whole turkey day celebration!   Food, family, good friends and that satisfying overstuffed feeling you get in your tummy! Its a very special day indeed!
These are pictures my son, Cord took at our 2008 family Thanksgiving. 


My oldest son, Ryan is a gifted photographer and always has his camera with him. This particular day he handed it over to my then, 8 year old son, Cordo.
I have 184 very interesting and amusing pictures, let me tell ya! Brilliant idea though.
Seeing the family get together through the eyes of my children is very awesome. And I love the perspective my son shared with us on the whole day.


I suggest this idea to everyone. The memories are priceless and I am sure you will find a better understanding of how your younger kids see the world. Its such a gift. I thank my sons Ryan and Cord for a Thanksgiving I won't ever forget and every year I pull out my pictures and am thankful all over again. 

Cordo as we know and love him.
Ryan through the eyes of Cordo.
as always , 
create in joy, 
and Happy Thanksgiving!
Tammy 


Tuesday, November 22, 2011

Something yummy for your tummy!!


This is most definitely one of my most favorite breakfast or brunch foods of all time!  I fell upon this from a cookbook I bought from my sons elementary school during a fund raiser one year.
All the kids contributed to the contents and it is quite a treasure!  Here is the ingredients and how to below.

Its quick , soooo easy and yummy

Enjoy!

  • Oven 400 degrees
  • melt 6 tablespoons butter in bottom of 9X12 baking dish
  • blend together: 1 cup flour, 1 cup milk, 6 eggs, dash of salt.
  • pour mixture into dish with melted butter  (will be very runny)
  • Bake approximately 25 minutes. 
  • serve anyway you like, powdered sugar,syrup, fruit, go crazy!  
creating with JOY!
Tammy

Monday, November 21, 2011

Toss it or Fix it??

 Last winter I spilled something on one of my favorite sweaters. UG!

I tried everything, but it would not come out and I could not bring myself to toss it. So, I tucked it away with my winter clothes only to pull it out and relive the disappointment. 

Then I had a thought, "what if I altered my sweater?"  What a great idea!! 

And, so I began................


I decided to redo the neck line and thus cutting away the existing stains. 

 Someone gave me a sweater that was beyond repair and I was tickled to see the color of the neck and the bottom would coordinate well with my project !

I cut out the new neckline and bottom trim allowing extra for the seam.


Next I laid out the new neckline over my sweater to get a general idea of how it would look.

I was HAPPY!
Now to cut out the old neckline ..........


I pinned the new neckline in place with right sides togetherThe v in the center was a little tricky but with patience it can be done. 
This may be a little more difficult for the beginner, but give it go anyway. Baste it in place and double check your work BEFORE you actually stitch it with the sewing machine. This will save you the heartache of taking out stitches gone wrong.


 Next, stitch your new neckline in place.   


 As an afterthought I incorporated the bottom of my recycled sweater as accent cuffs.

I love the feeling of my sleeves being long enough to touch the palms of my hands and now I could add the extra length.

woo hoo!


Stitch the side seam , turn inside out, tuck into sleeve and top stitch in place.


Now, I can wear my "new" old favorite sweater again!
I was tickled the way this worked out!  

The remaining recycled sweater is all going to good use as well.

Possibilities are endless when you put your mind to it!
I would love to know what favorites you have salvaged! 
have a great Monday!
and

as always, create with joy
Tammy


Friday, November 18, 2011

Falling Leaves Placemat

 Thanksgiving is only a week away and the wonderful colors of fall will go back into my storage bins until next year. ( I am making a sad face not......sigh)
  But, hey the brighter side is CHRISTMAS is in the air!!  (big grin now....giggle)  I thought my readers may want a last minute idea to adorn the Thanksgiving table, dinner or accent .  This is fun and quick!  Especially if you do all your stitching with your sewing machine.


For the mat itself I used black felt cut with my pinking rotary cutter. No stitching required......I liked this a lot. 


The shape of the leaves were inspired from a gorgeous wall quilt I saw on line. They have the illusion of falling. I actually hand stitched them in place with opposite colors of floss and gold filament thread (to add little glitz). The fun part for me was stitching the trail of the leaves and wind in just the gold filament thread, it gives the illusion of movement.


I love to sew, I love the look of stitches. Using bright orange, tan, and beige leaves on the black background I can't help but smile when I see it. Ah, fall how sweet it was. 

I hope you enjoyed this project and will give it a go. Enjoy the weekend and I will be sending more fun stuff your way soon!  If you make one or use the general idea......please send me pictures and your comments.

as always , create with joy,
Tammy

Thursday, November 17, 2011

Juice Can Creation


 Love juice cans!

This project is simple and sweet!
Great project for kids to do as well.
 I get a kick out of  Christmas gifts that make me smile or giggle. 


To start with I measured the overall felt piece by simply rolling it around the can and cutting off the excess.


Then I folded it in half vertically to get my exact measurement for the inside.


Next I cut out my tree and birds from scraps of felt . You can use a fabric glue to temporarily secure them to the overall piece. The glue would most likely be better for kids. There is always a fusible web too.
Use what makes it best for you.
I just pinned my pieces in place.


Then using different colors of floss stitched around outside each piece as well as added decorative accents.
Let your imagination be your guide.  


 These little white birds on blue make me feel SO HAPPY! 


Hope you enjoyed this one.
as always , create with joy,
Tammy


For pattern pieces click on the picture to your right and enlarge it as needed when
printing.
 Enjoy!